Cover Template

Book Cover Template: DIY - How to Make a Book Cover (Softcover Books)
Providing your own Cover design for your book? Great! What we'll need from you is a PDF file of your front and another PDF file of your back cover layout. Read on to learn everything you need to know about how to make your own book covers before publication. This page explains what you need to know about:
- Image resolution (and how to find it)
- Image dimensions
- Text placement
- How to use our Cover Templates
- How we make the book spine
- Barcode and ISBN placement
- Saving your cover as a PDF with embedded fonts
Please make sure to watch our Video Tutorials and review our Questions and Answer section on this page about common book cover layout questions.
Front and Back Cover Layout
If you're planning to provide your own cover, you will need to provide two separate files — one for the back cover and one for the front cover. Yes, they need to be two separate files.
An image is often a central feature of any cover. The image must be engaging and represent your book, of course, but it also must be crisp and clear. A printed image must have a certain resolution or the image will be pixelated and blurry. Your cover image should be at least 200 DPI for the best quality printing. The best resolution is 300 DPI.
Please watch the book cover resolution tutorial video below, to find the DPI of an image or graphic that you want to use for your front and back covers.

How to Check Resolution of Graphics Video
Download a Free MS Word Cover Template
All of our cover templates are set-up with .125" bleed on all four sides. Download the correct template for the correct trim size of your book.
Learn how to use the DiggyPOD Word Template
Free Book Spine Creation Service
As far as the spine is concerned, we don't need a file from you if you are using our Free Book Spine Creation service. When you select "Free Book Spine Creation" when placing your order, you will supply the title of the book and the author's name. Our graphic artist will add the text that you supply for the spine and try to match the same color scheme of the supplied front and back covers. We will try to use the same fonts or very closely matched fonts as those used on the cover. If you want anything different, we ask that you specify in the "Additional Comments" when ordering and we will take care of your request. Note that books under 70 pages are too thin to have a spine.
If you'd like to design or have a graphic designer creating the spine bulk as well, use our Spine Calculator to calculate the dimensions of your spine, and the overall dimensions with bleeds.
Most graphic artists use Adobe InDesign, and will send us one file for the cover that has the front, back, and the spine all merged into one layout file that is ready to print. Our spine calculator is for advanced users of page layout programs. We highly recommend self-publishers use our Free Book Spine Creation service.

Illustrated Explanation: Free Spine Creation
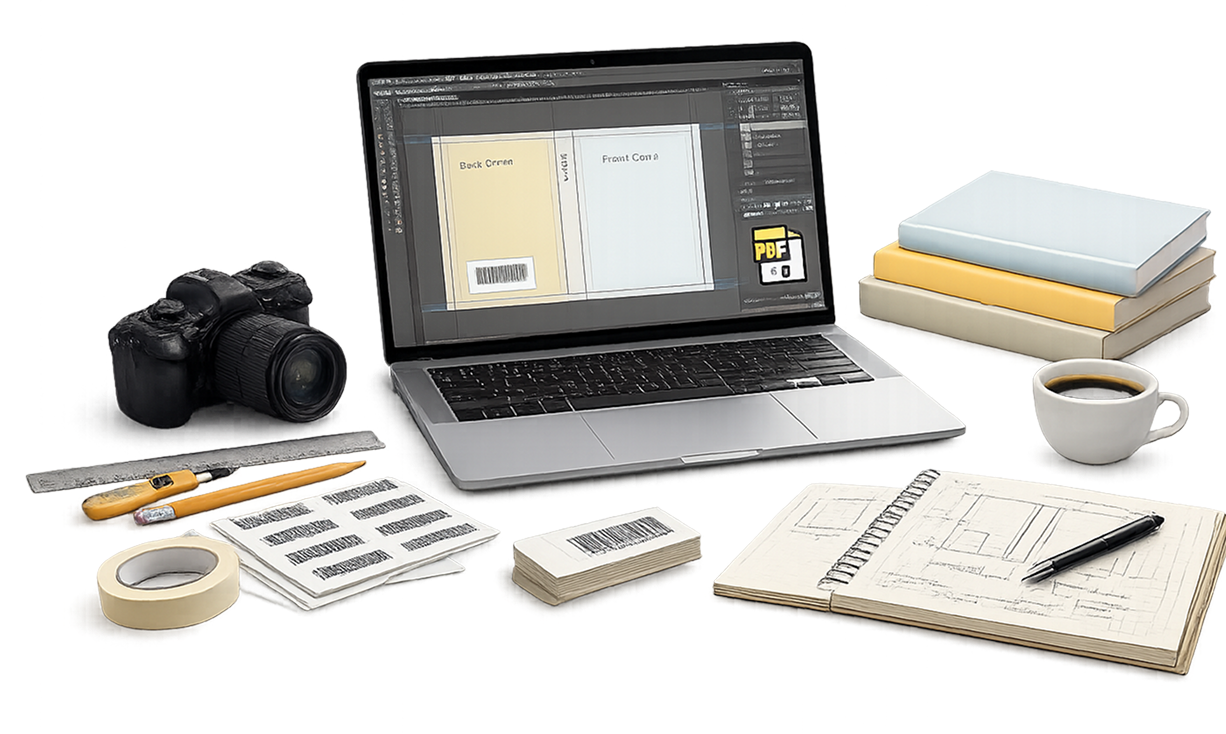
You the author will supply a PDF of the back and a separate PDF of the front cover:


Then, DiggyPOD will marry the files together and add the spine information for you!


What about the ISBN Number?
To add an ISBN number, select "Create Barcode" under "Additional Services" when placing your book printing order. DiggyPOD will create a barcode and place it on the back cover of your book for you. Please remember to leave 2" wide x 1" tall blank area somewhere on the back of your cover layout for the barcode. You will need to purchase the actual ISBN number from ISBN.org; read more about how to purchase an ISBN number here.
Saving Your Artwork as a PDF File with Embedded Fonts
Saving as a PDF is a technical part of file creation, but we've made it easy for you with our simple doPDF maker. After creating the files you want to use as your cover, you'll need to save them as PDFs. Go to our Create Your PDF page to download doPDF and for instructions on how to use it.
In short, once doPDF is installed, open the image file you're using for your cover and select "Print." From there, change the printer to doPDF. When you hit OK, a PDF version of the file will save where you've instructed it to save.


Custom Cover Layout Requirements
If you want a custom size that is not listed in our templates, then you will need to create your own template.
For instance: If you want a final book trim size of 5.25 x 8.25. You will have to make your Word document page size 5.25 x 8.25. You will need to adjust your margins to .25" for the top, bottom, left, and right margins.
If you want your images to bleed (where images or graphics go right to the trim edge), then you must add .125" to all four sides of the page size. For a custom size cover with a final trim of 5.25 x 8.25, you must make the Word page size 5.5 x 8.5, and change your margins to .38". Please view our DiggyPOD Cover Template tutorial to get a better understanding of how to make a book cover.
FAQs
Common Book Cover Issues and Questions
our book printing and self-publishing services.
What is font embedding?
Font embedding is when all the font information is captured from your computer and stored inside the PDF file.
Why is font embedding so important?
If the fonts are not embedded in the PDF file, the type can reflow and become distorted. Even common fonts, like Times, need to be embedded because there are many different versions of common fonts. The good news is that embedding fonts in your cover file is quite easy. DiggyPOD recommends using the free doPDF utility to embed the fonts. We have an easy-to-follow video tutorial that will show you how to do it. Just click here to watch the video. Mac users, don't have to worry. Mac computers embed the fonts automatically.
How do I know if my images and graphics are high resolution?
The best way to check the resolution of the images and graphics is to create the PDF file, then zoom in 300% to 400% to see if there is any fuzziness with the image or graphics. Click here to see the difference between a high resolution image and low resolution image. In our experience, you may want to avoid getting artwork for your cover from websites and image searches, as images on websites are only 72 DPI and print very poorly. But, if you are happy with the quality of the images at low resolution, we can print them. DiggyPOD is very quality oriented, and we want to make sure you get the best quality book printing possible.
What is the recommend DPI of images and graphics?
DiggyPOD recommends that images and graphics are a minimum of 200 DPI. 300 DPI is the best but in most cases 200 DPI will work just fine.
How do I give you my ISBN number?
When you place your order, you can add your ISBN number by choosing our Create Barcode option under additional services. DiggyPOD will create a barcode and place it on the back cover of your book for you. Please remember to leave an area of 1.25" tall x 2" wide for the barcode. DiggyPOD does not sell ISBN numbers, but we do create ISBN barcodes from your supplied ISBN number. ISBN numbers can be obtained at ISBN.org, and you can read everything a self-publisher needs to know about ISBN numbers here. We recommend you don't buy the barcode from them as it's easier for us to create it than it is to transfer the barcode image to us at high quality. DiggyPOD can create the barcode and place it on your book's back cover for $25.00.
How do you know what type to put on the spine?
DiggyPOD will put the title of the book and the author's name on the spine. If you want something different, just specify in the additional comments area when ordering and we will take care of it for you.
How many pages must my book be to have type on the spine?
About 70 pages is the minimum page count to have any type on the spine. Anything smaller in page count makes the type so small it's not readable on the spine. Have questions? Give us a call at 1-866-595-7972 so we can answer any questions you have. We're always here to help!